Introduction
Programming using "low-code" tools has recently been very successful. These tools allow in fact to create applications through the use of graphical interfaces rather than through the writing of source code.
The programming tool, Node-RED belongs precisely to this family of tools: it is a practical visual development tool particularly suitable in the Internet of Things. It is a module of Node.js and therefore it has the advantages, such as responsiveness and integration, of different technologies.
In this tutorial you will see how to install Node-RED on your Linux Ubuntu 20.04 server, and how to secure it by limiting full access to your projects only to authorized users.
First, connect to your server via an SSH connection. If you haven't done so yet, following our guide is recommended to connect securely with the SSH protocol. In case of a local server, go to the next step and open the terminal of your server.
Installing Node.js
Before proceeding with the installation of Node-RED, install Node.js on your server. In this tutorial the latest version of Node.js, available to date, 14.0, will be used.
Now, type these commands to proceed with the installation of Node.js:
curl -sL https://rpm.nodesource.com/setup_14.x | sudo bash --
sudo yum install -y nodejs
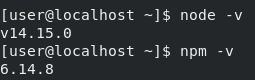
In addition to Node.js, the relative Packet Manager “npm”, essential for the installation of each of its modules, will be installed. To verify that your installation was successful using the above commands, check the version of the software installed by typing:
node -v
npm -v
Installing Node-RED
At this point everything is ready to install Node-RED. Then, type the following command:
sudo npm install -g --unsafe-perm node-red
If the installation procedure was successful, Node-RED will be installed on your Server. To start it, just run the command:
node-red -v
By entering "-v" you enable the "verbose" mode:many more logs indicating what is happening on the editor will be shown on the terminal. If you prefer that less information is shown on the terminal, omit this abbreviation.

Once started, open your browser and go to the IP address of your server and indicate port 1880: http: // server_ip: 1880 /
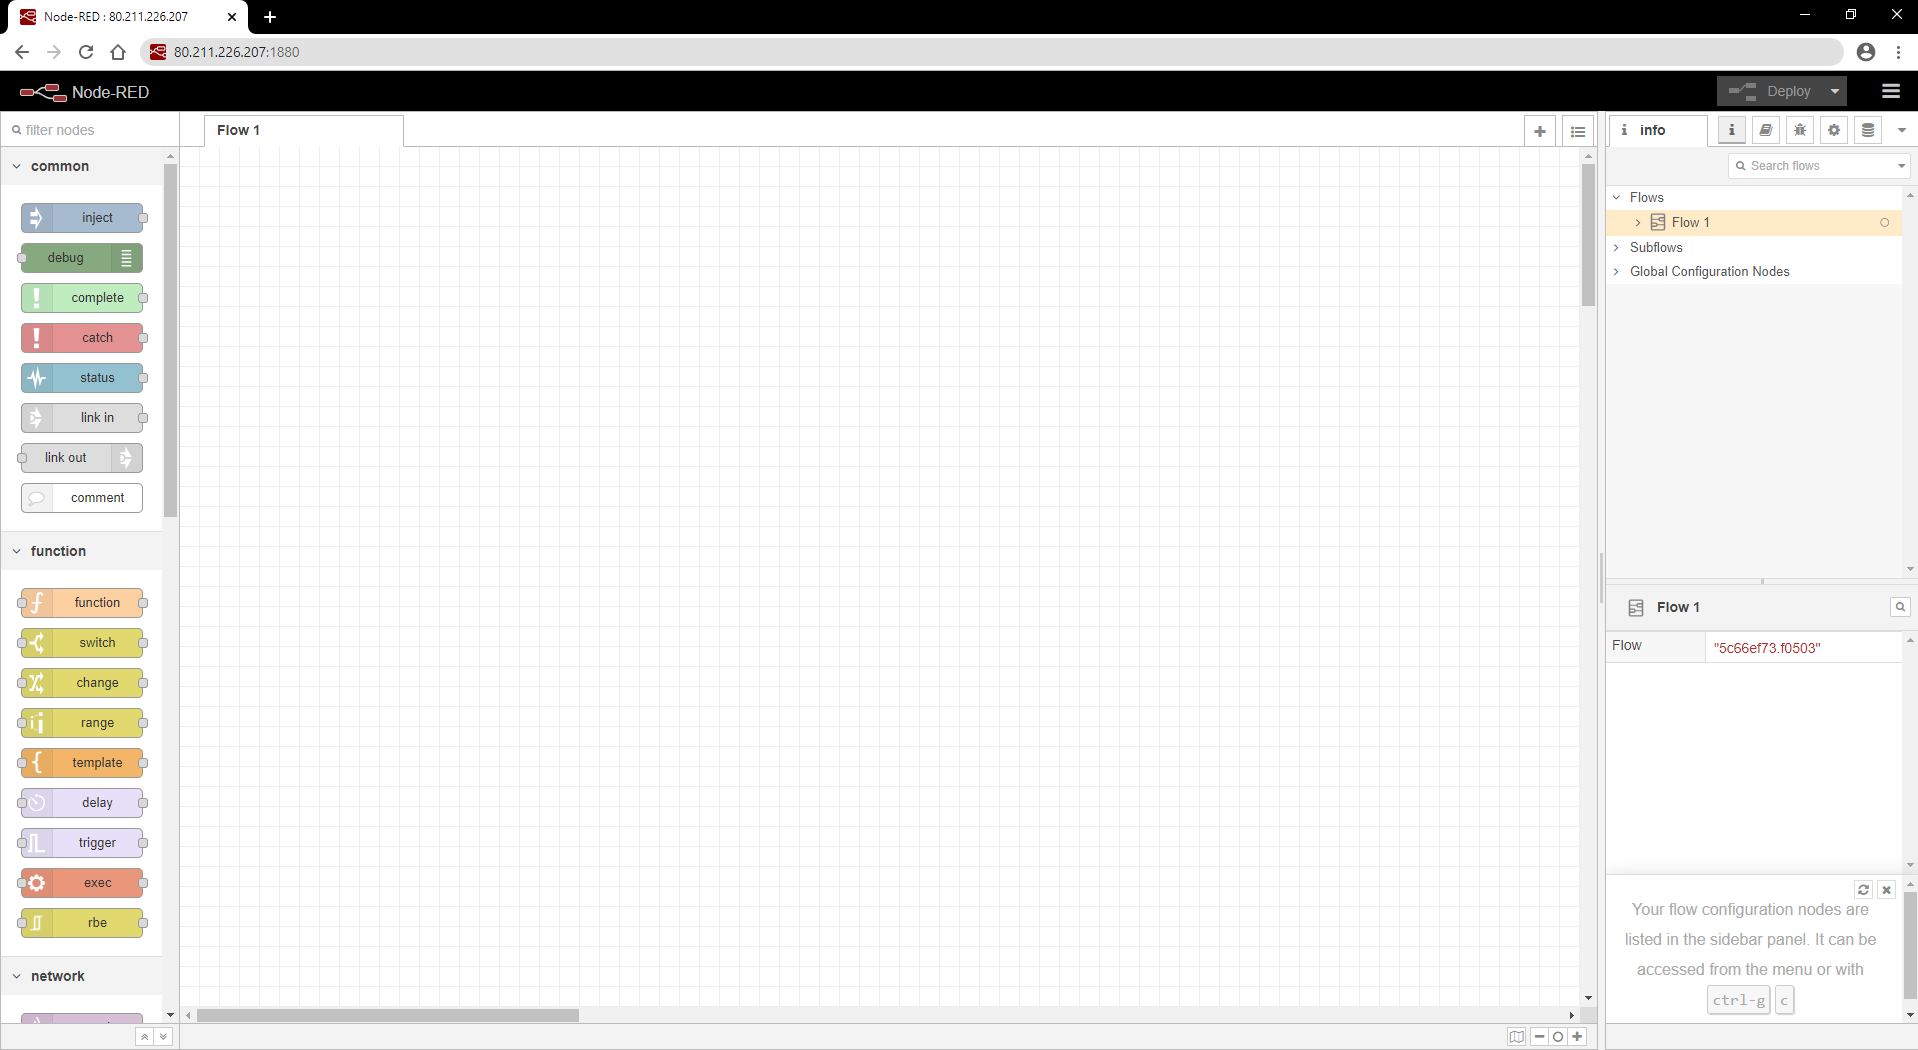
Once the page is loaded, you will be directly inside the Node-RED editor.
However, securing the installation of Node-RED is now necessary. If you stopped at this point, anyone could use this address and have full control of your projects.
To avoid this, install the Node-RED Admin tool to precisely define the list of authorized users and their or read-only permissions.
Installing Node-RED Admin
To proceed with the installation of the tool, run the following command:
npm install -g --unsafe-perm node-red-admin
Once this plugin is installed, create the user and assign privileges.
To do so, specify these credentials in a Node-RED configuration file itself. However, the password must be encrypted and saved in clear text so that it cannot be not identified by reading this configuration file.
To do so, use the functions provided by the last plugin installed. Then, type the following command:
node-red admin hash-pw
You will be requested to type the password you want to encrypt. This operation does not directly affect the Node-RED configuration, but provides the encrypted version of the password entered on the terminal:

Once you have the encrypted password, copy it to your clipboard and then insert it in the configuration file.
Configuring access to Node-RED
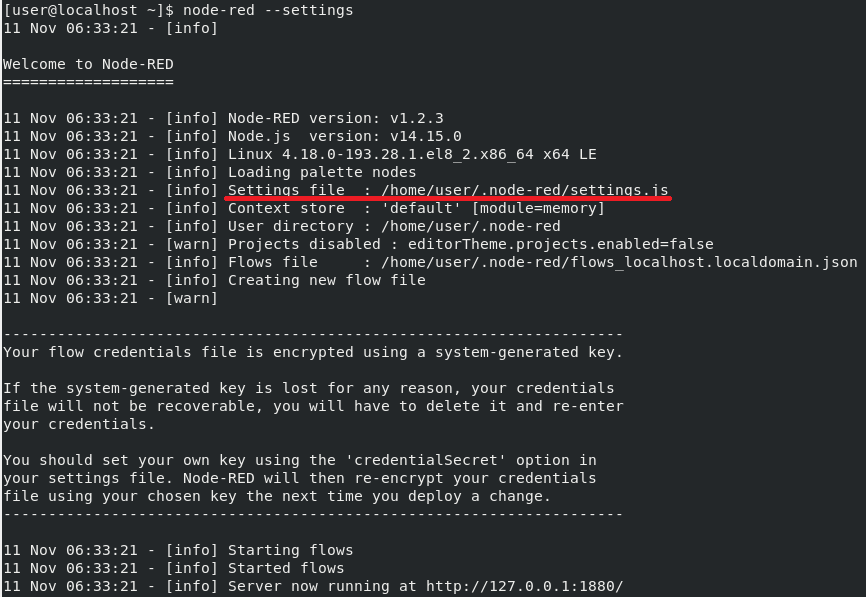
To find out where the configuration file is located, start Node-RED using the command:
node-red --settings
Once the command has been executed, the location of the "settings" file will be shown among the various "info" items.
Before proceeding with the modification of the file, close Node-RED that you just started. Then, type:
CTRL+C
Then, go to that path and edit the file using your text editor. In this case ‘nano’ will be used and the command to execute is:
nano path/settings.js
NB replace the "path" parameter with the path shown by the previous command. Once inside the configuration file, go to the entry "adminAuth" and uncomment (by removing the "//") the items shown in the figure.
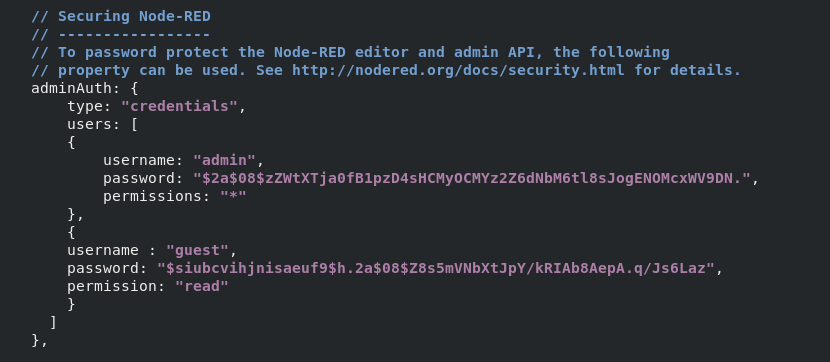
Then, replace:
- username: with the user's name;
- password: with the encrypted password previously created;
- permission: this field can have the value "*" (to read and apply changes) or "read" ( to access the editor but only for reading).
If you wish to add additional users who can access the system with different credentials and/or privileges, copy the structure inside the curly brackets and repeat it, separating each of them with a comma (as shown in the figure below).
In case you need to create more users, repeat the password encryption operation explained above, and use the one you want to assign to those users.
In the figure, two users that can access the editor have been created:
- “Admin”: can apply changes to the project;
- "Guest": can only view, cannot apply any changes.
When you are done, close the editor by typing:
CTRL+X / Y / Enter
Start Node-RED again using the command:
node-red
Open your browser and go to the IP address of the server on port 1880: http: // server_ip: 1880 /
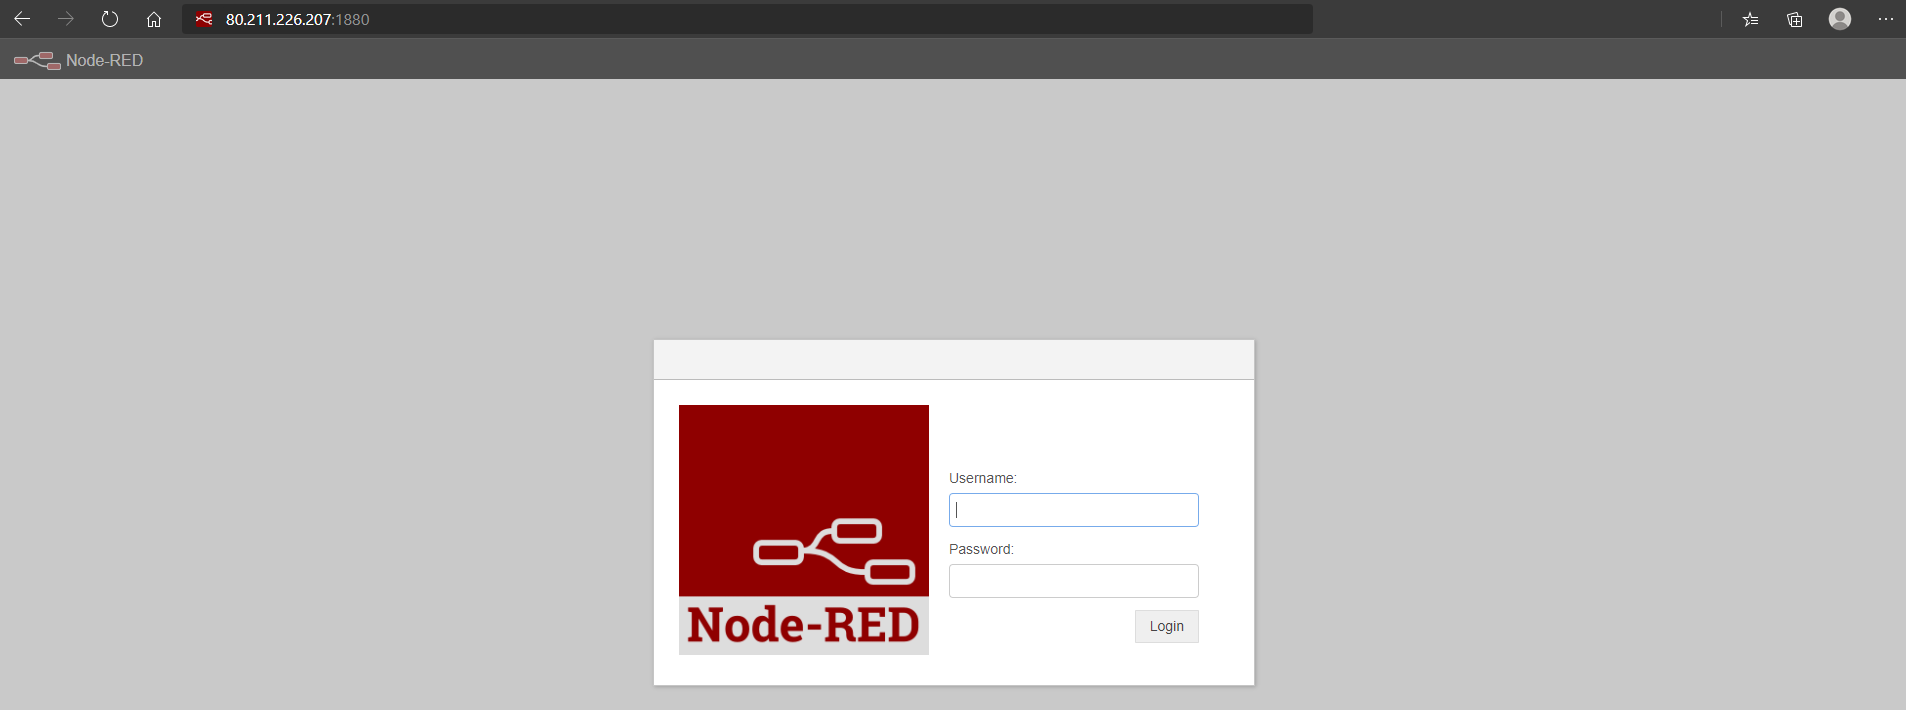
From this moment on, every time you log in to the Node-RED editor the user credentials you want to log in with will have to be specified.
Conclusions
At the end of this guide Node-RED will be successfully installed on your Ubuntu 20.04 server and will be accessible at http: // ip_server: 1880 .
Thanks to the large community, which actively supports the open-source development of Node-RED, you will be able to create different applications that can be integrated with the different technologies also through the numerous plugins available.